This beginner’s guide covers everything you need to start DIY vape juice mixing in 2026 — from understanding PG/VG ratios and nicotine strength to choosing flavor concentrates and following safe mixing practices. It also walks you through the basics of making your own e-liquid at home, helping you avoid common mistakes and achieve consistent flavor with different devices like pod systems and disposables.
Table of Contents
1. What Is DIY Vape Juice
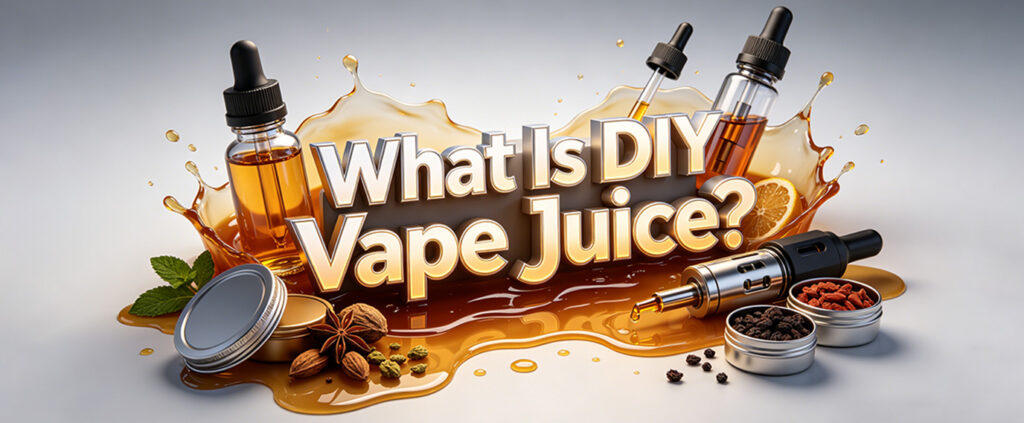
DIY vape juice, also called DIY e-liquid or e-juice, refers to manually mixing vape liquid using core ingredients such as PG, VG, nicotine, and flavor concentrates instead of buying premade ejuice.
Unlike premade vape juice, DIY mixing gives users more control over flavor strength, nicotine level, and PG/VG ratios. This flexibility is one reason why DIY vaping remains popular in 2026, especially among vapers who value customization and long-term cost savings.
2. What Is Vape Juice Made of
All DIY vape juice is typically built on four core ingredients:
(1) PG (Propylene Glycol)– Flavor Carrier & Throat Hit
PG is a thin, flavor-carrying base responsible for throat hit.
- Strong throat hit
- Better flavor delivery
- Low viscosity
Higher PG ratios tend to deliver sharper flavor and a more noticeable throat hit, especially in lower-wattage devices.
(2) VG (Vegetable Glycerin)– Vapor Production
VG provides vapor production and a smooth inhale.
- Dense vapor clouds
- Smooth draw
- Slight natural sweetness
More VG generally means thicker vapor production, though it can slightly mute flavor intensity depending on the mix.
(3) Nicotine (Freebase/Nicotine Salt)– Strength Control System
Nicotine determines satisfaction level and hit strength.
- Freebase: stronger throat hit
- Nicotine salt: smoother high-strength delivery
Getting nicotine levels wrong is one of the most common reasons beginners end up with an unpleasant or unbalanced mix.
(4) Flavor Concentrates– Taste Engine of Vape Juice
Flavor concentrates define the final vape juice profile.
- 5% light flavor
- 10-15% balanced
- 20% strong flavor
One of the most common beginner mistakes is over-flavoring, which often results in a harsh or overly artificial taste.
3. Step-by-Step Guide to DIY Vape Juice
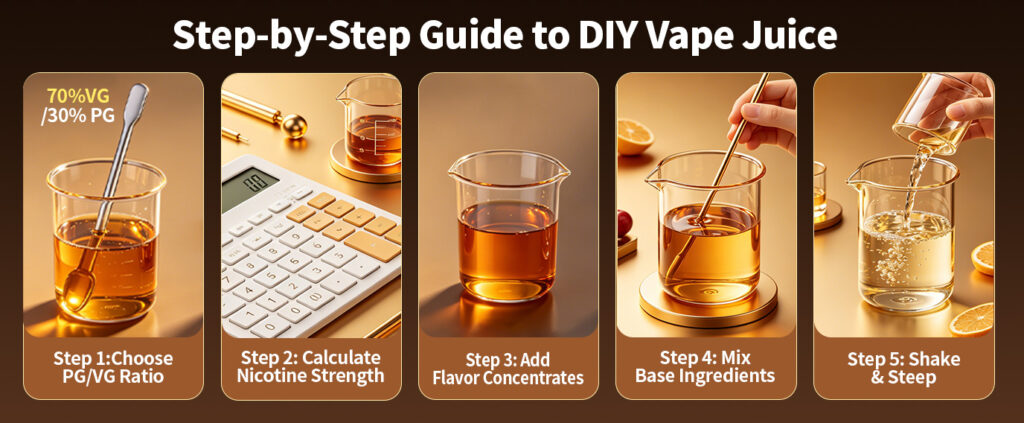
Step 1: Choose PG/VG Ratio
- 50/50: Balanced flavor & vapor
- 70/30 VG-heavy: Smooth & cloudy
- 30/70 PG-heavy: Strong hit & flavor
If you’re unsure, 50/50 is usually the safest starting point because it performs reliably across most beginner devices, including pod vapes and sub-ohm tanks.
Step 2: Calculate Nicotine Strength
Use a vape juice calculator to get an accurate nicotine level and avoid overdose or weak results.
Estimating nicotine by eye is one of the fastest ways to end up with an unusable mix.
Step 3: Add Flavor Concentrates
- 5% light flavor
- 10–15% balanced
- 20% strong flavor
Start low—you can always increase flavor later, but fixing an over-flavored mix is much harder.
Step 4: Mix Base Ingredients
Mix PG and VG first, then slowly add nicotine and flavor concentrates.
Using a digital scale is generally more accurate than measuring by volume, especially when working with nicotine.
Avoid rushing this step, as uneven mixing can throw off the entire balance of the recipe.
Step 5: Shake & Steep
Steeping time depends on flavor type:
- Fruits: 1–3 days
- Menthol: 2–5 days
- Cream/Custard: 1–3 weeks
Most mixes improve noticeably after proper steeping, so it’s better not to judge the flavor too early.
4. DIY Vape Juice vs Premade Ejuice
| Feature | DIY Vape Juice | Premade Ejuice |
| Flavor control | Fully customizable | Fixed formula |
| Nicotine level | Precise adjustable | Limited options |
| Cost efficiency | Lower long-term cost | Higher per bottle |
| Flexibility | Unlimited combinations | Pre-set flavors |
Which Is Better For Beginners
Premade ejuice is generally more convenient for beginners, while DIY mixing may appeal more to vapers who want greater control over flavor, nicotine strength, and PG/VG ratios.
5. How Vape Juice Brands Influence DIY Mixing
Many DIY mixers use popular vape juice brands as inspiration when exploring different flavor profiles:
- Naked 100: fruit layering
- Juice Head: crisp fruit layering
- Pod Juice: bold sweet candy layering
- Vapetasia: creamy profiles
- Finest: balanced fruit + ice complexity
- Yogi: herbal dessert fusion
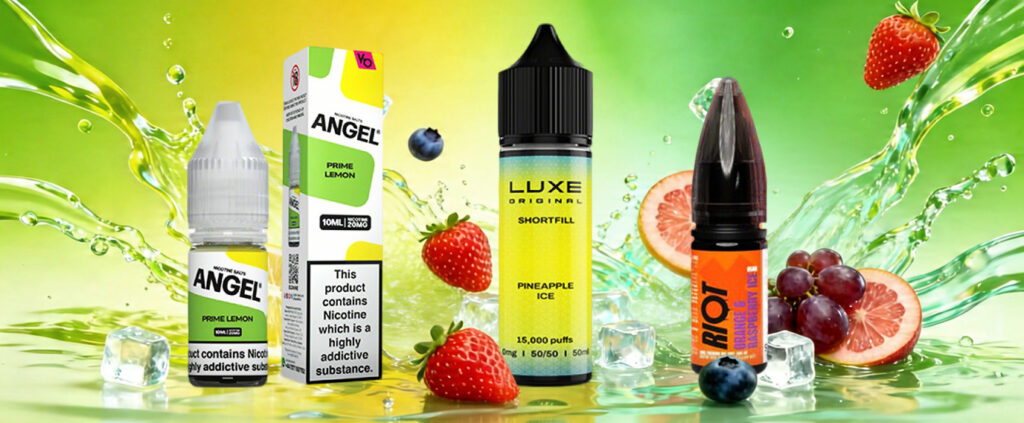
For some mixers, studying flavor profiles can be a useful starting point for understanding how different flavors work together. Whether you prefer nicotine salt or freebase e-liquid, exploring ready-made blends can help you discover new vape juice flavor combinations and find inspiration for your own DIY recipes. Fruit-flavored freebase vape juice can be a good starting point for exploring sweet, tart, and refreshing flavor combinations.
6. Common DIY Mistakes
DIY vape juice is relatively simple, but beginners often repeat a few key mistakes that directly affect flavor and performance.
- Over-flavoring leads to harsh or artificial taste, so it’s better to start with lower percentages (5–10%) and adjust gradually based on testing.
- Wrong VG/PG ratio causes weak vapor or poor throat hit, which is why you should always match the ratio to your device and coil type.
- Nicotine miscalculation results in an overly strong or weak throat hit, so using a vape juice calculator and double-checking inputs is essential before mixing.
- Insufficient steeping produces flat or unbalanced flavor, especially in dessert and cream profiles, so proper steeping time is necessary for full flavor development.
Most experienced mixers avoid these issues by starting with small 10ml test batches before scaling up.
7. Safety Tips for DIY E-Liquid Mixing
Safety isn’t the exciting part of DIY mixing — but it’s the part that actually matters.
Nicotine should always be handled with care. Wear appropriate protective gloves and avoid direct skin contact.
Always mix in a clean, well-ventilated space and keep vape juice ingredients away from food and drink.
Label every bottle clearly with its contents and nicotine strength.
Store nicotine and finished e-liquid securely and out of reach of children and pets.
For consistency and safety, accurate measuring tools such as a digital scale can be helpful.
8. Conclusion
In 2026, DIY vape juice remains a flexible option for vapers who want more control over flavor, nicotine strength, and cost. For those looking to take DIY vaping a step further, learn to build your own vape coils to customize your vaping experience.
FAQs
Q1: What is in vape juice?
Vape juice, also called e-liquid or e-juice, typically contains propylene glycol (PG), vegetable glycerin (VG), flavorings, and nicotine. Some vape juice is also available without nicotine.
Q2: Does vape juice expire?
Yes. Vape juice can degrade over time, and its quality may change depending on its ingredients and storage conditions, so follow the product’s labeled expiration or best-by date when provided.
Q3: Can expired vape juice kill you?
Expired vape juice does not automatically mean it is deadly, but nicotine-containing e-liquid can cause serious poisoning if swallowed or absorbed through the skin, especially in children.
Q4: How to make vape juice?
DIY vape juice involves combining PG/VG, flavorings, and optionally nicotine at the desired formulation, with accurate measurements and appropriate safety precautions.
Q5: Can you bring vape juice on a plane?
It depends on the country, airport, and airline. In the U.S., e-liquid is generally allowed in both carry-on and checked baggage, while carry-on containers are limited to 3.4 oz (100 mL) at TSA security. Other countries may have different liquid, vaping, or import restrictions. Vape devices and spare batteries are subject to separate rules and, where permitted, must be carried in the cabin rather than checked baggage.